Since my level of productivity has been down as of late, I thought I would share a project from several years ago that other quilters on the go might be interested in.
 |
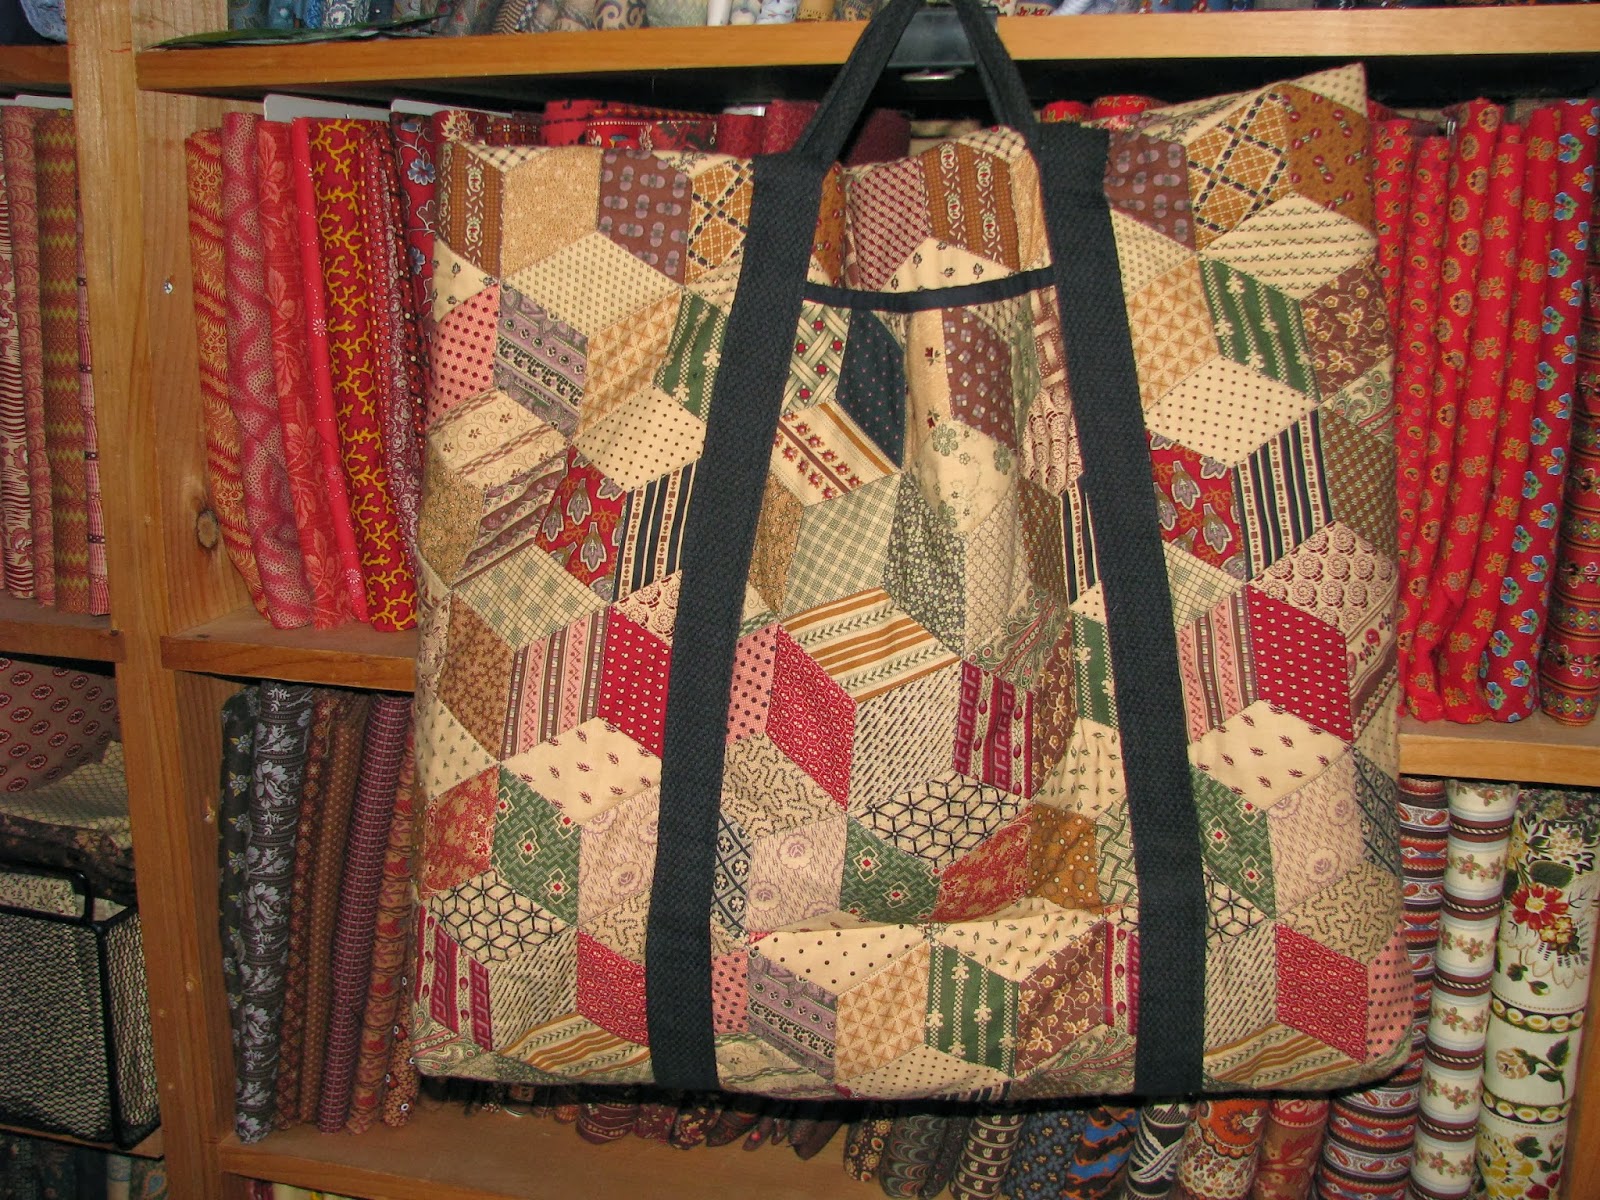
| Quilting 'Tumbling Blocks' Patchwork Print on an early 20th century New American treadle sewing machine |
 | |
| Big (approximately 18" x 18") |
As you can see the bag accommodates one quilt or many because it grows.
 | |
| Bigger (approximately 18" x 26") |
And grows!
 | |
| Biggest (approximately 18" x 38") |
I have carried as many as 3-4 full size quilts with the bag fully expanded.
If you are interested in making one of these you will need:
1-1/2 yards fabric for bag exterior
1-1/2 yards fabric for bag interior
batting (approximately 45" x 60")
8 yards 1-1/4" cotton webbing for handles
(2 pieces 108" and 6 pieces 9")
complimentary fabric for approximately
60" straight grain binding
Layer the exterior fabric as you would a quilt top with the interior (backing) fabric and batting to create a quilt sandwich. Quilt as desired.
Square one corner of the quilted piece to a 90 degree angle. Measuring from the squared corner cut a 40" x 40" piece from the quilt sandwich. From the remaining strip cut 2 pockets 9" x 18". I had enough left over to make a small pouch to carry other items too!
Bind the top 9" edge of both pocket pieces before beginning assembly.
Lay the 40" piece flat and mark a fold line at 20". The fold will be one long side of the finished bag. Place the pocket pieces on either side of the fold line so that the pockets will be centered on each side of the finished bag and pin or tack into place. Be sure to allow for the french seam that will become the side of the bag opposite the fold. From a 40" width the bag finishes to approximately 18-19 inches depending upon the width of the finished side seam. (I used cotton fabric with thin cotton batting. Thicker materials would result in a bulkier seam.)
With the bag still laid out flat place one set of 9" handles on each side parallel to the top and above the pockets at 20" from the bottom of the bag. Place a second set of 9" handles at 28" from the bottom of the bag. Place a third set of 9" handles (optional) approximately 1" below the top of the bag.
Now lay out the webbing for each of the long handles to cover the unfinished edges of the pockets and the ends of the 9" handles. Adjust the loop at the top to suit the height of the intended user before pinning the second side. (I am 6' tall so my shoulder handles are quite long. These could be shortened with the top set of 9" handles eliminated if so desired.) Top stitch the long handles into place on both sides of the webbing making sure the edges of the pockets and 9" handles are secured by back stitching in those areas.
Fold the bag on the fold line with the insides together. Sew a seam (approximately 3/4") down the long side of the bag opposite the fold. Turn the bag inside out and sew down the long side of the bag again so that the unfinished edges are captured inside the seam forming a french seam. Repeat the process for the bottom seam. Both could be sewn with one turning but I prefer the nicer finish offered by turning the bag twice.
Turn the bag right side out and sew the binding to the top edge. Fill with quilts and go!
When the larger size is not needed simply fold the top into the bottom of the bag before filling and carry with the appropriate set of handles.
Since I didn't take photos while making this bag I don't have any to share here, however, construction is pretty simple. If you have any questions please feel free to email me. Now when I am asked for instructions for this bag, which happens almost every time I carry it, I will finally have a place to direct people to. ;-)
 |
| Deze roos was het eerste wat ik zag toen ik wakker werd in mijn kamer na de operatie. Bedankt, Honey! |