 |
| Homespun Star, 2010, 36" x 36" |
I shared information about the quilt study in an earlier post...which you can read here. Today I am sharing a little more about how the quilt was made.
My inspiration came from a quilt in the collection of the Museum of American Folk Art. Very little is known about the origins of the Center Star quilt which prompted me to think about what aspect of the quilt I could study.
Many early pieced quilts, including this one, were made of wool. Having seen the coarseness of some early wholecloth quilts I decided to explore the making of wool fabrics; specifically genuine 'home spun' wool fabrics. At that point I had no intention to actually make the fabrics for my quilt, I just wanted to explore the spinning process and get reacquainted with weaving. Nothing more.
 |
|
Center Star Quilt,
1815-1825, 100.5” x 98”. Original courtesy of the
Museum of American Folk Art, New York, NY. |
My research started by learning more about raising and sheering sheep. Despite my pleas, Mr. Splinters insisted owning sheep of our own was not an option. He was absolutely correct but that doesn't mean I still don't still give him a hard time about it. He usually lets me have anything I want. The reality of living in farm country means there are actually plenty of sheep for me to
observe without us actually having to house and feed them. So, I have settled for this guy...
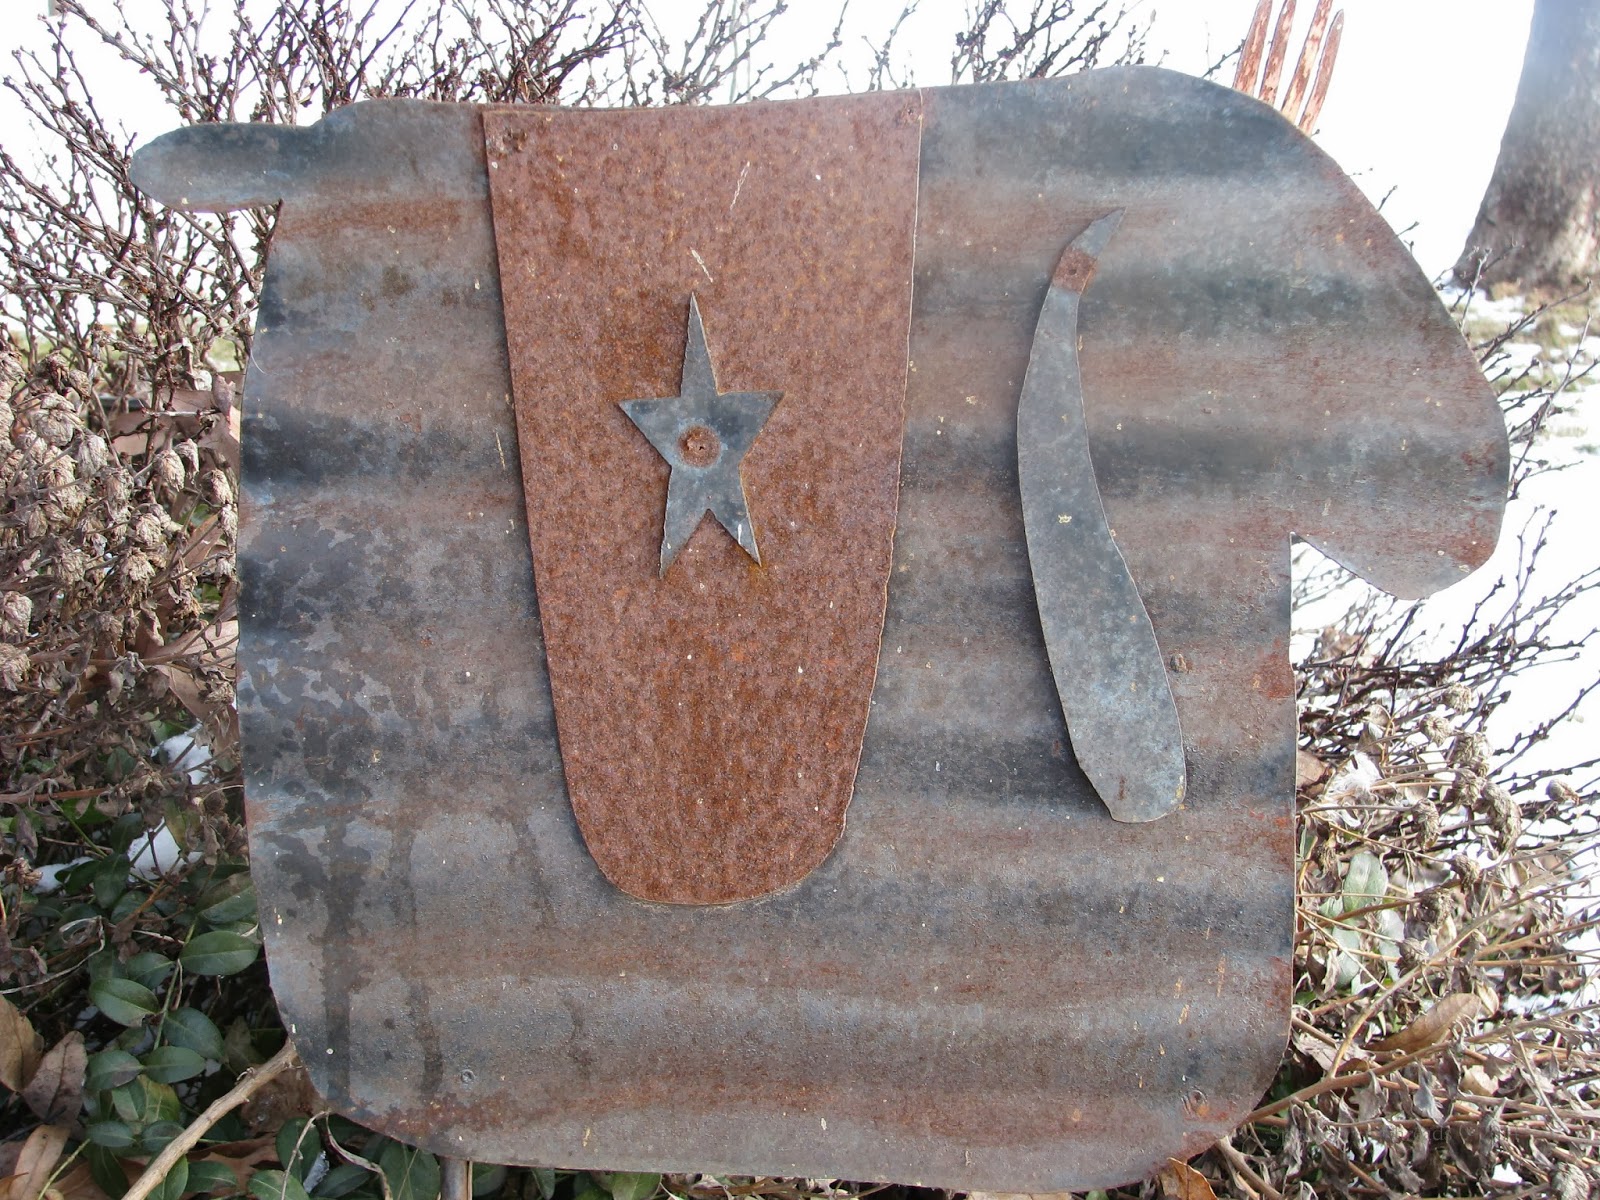 |
| Star Sheep |
As time for my quilt study project was limited, I also settled for purchasing wool roving already processed. The wool I used came from Jacob sheep raised in Lancaster County, Pennsylvania. If you are looking for really nice wool fibers or fabrics, contact Betty at Little Pine Traditional Crafts in Lancaster, Pennsylvania. She is one of the most knowledgeable and generous shop owners I have ever had the pleasure of doing business with.
 |
| Jacob Sheep |
My biggest challenge was learning to spin the wool into something that could be woven into fabric. Knowing little about the difficulty of this process I purchased a spinning wheel at my local antique shop. The price was reasonable and the wheel was in good condition given all I had read at the time about what to look for when purchasing an antique spinning wheel.
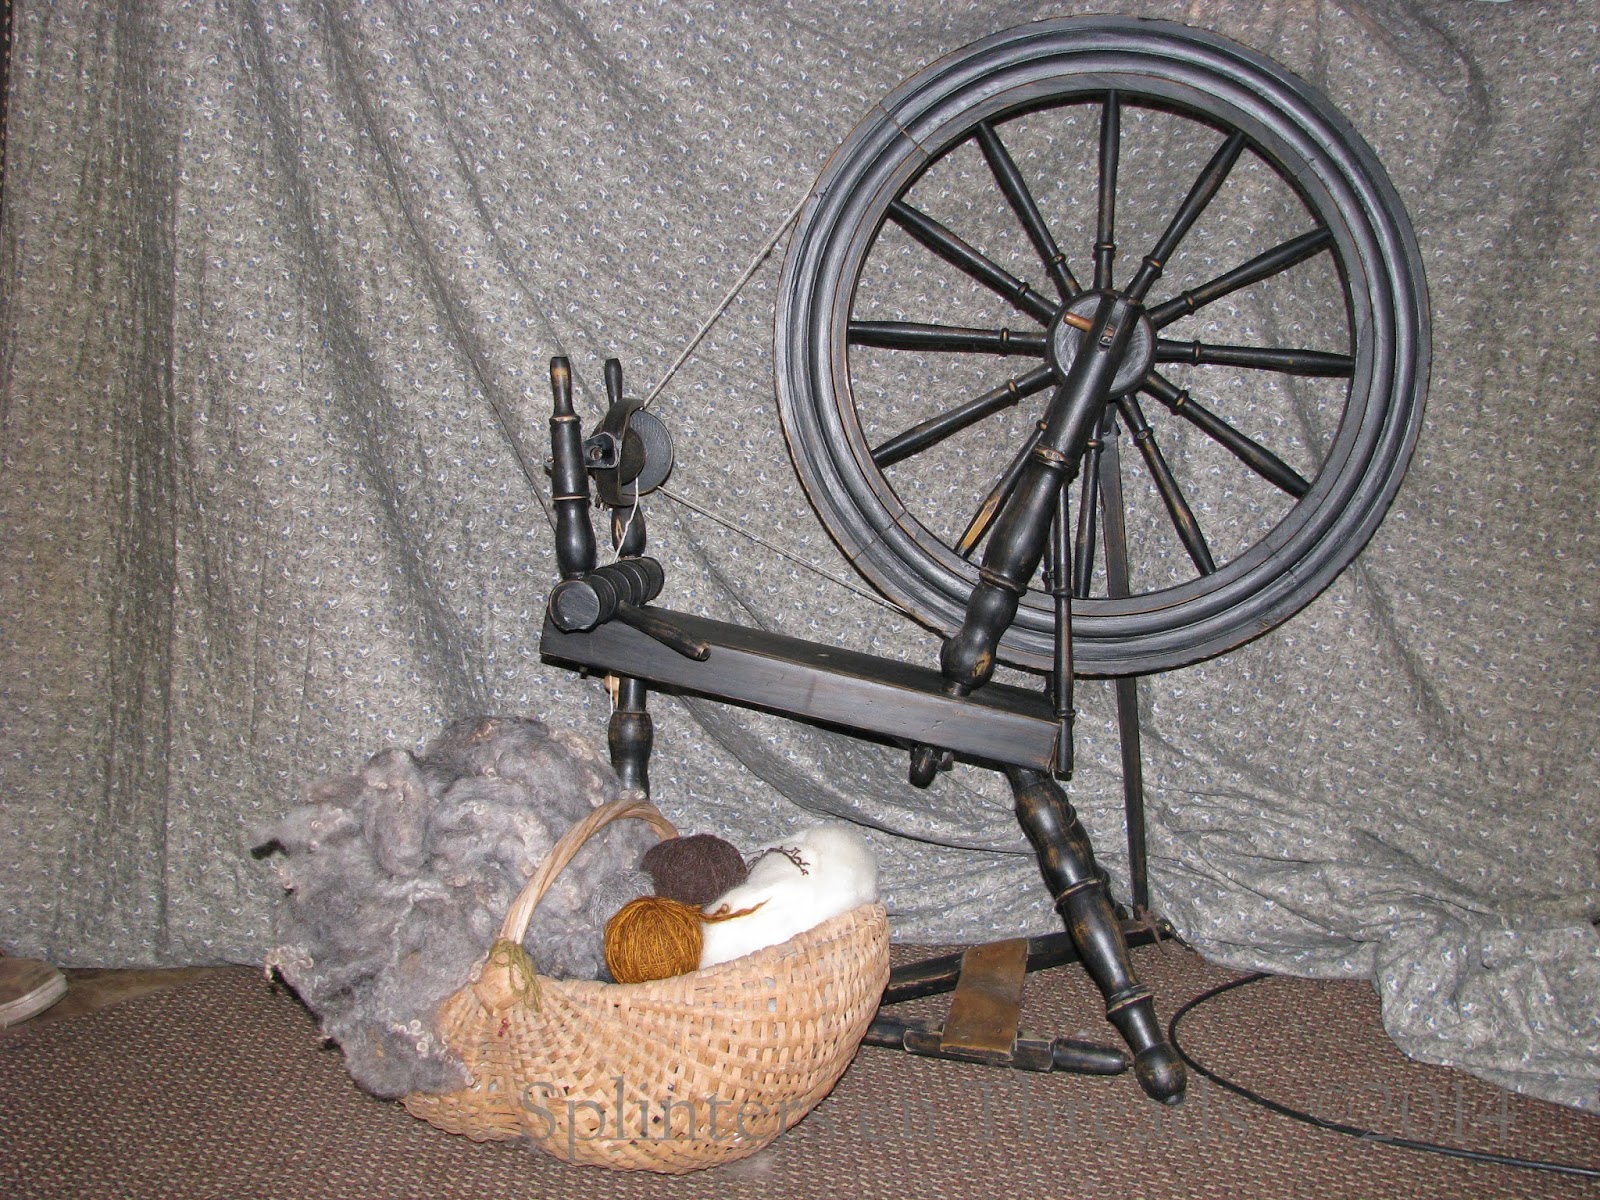 |
| Canadian Production Wheel believed to have been made in Pennsylvania |
What I didn't know was that the wheel I purchased has a wheel to flyer ratio of 16 or 18 to 1. For a beginner that is really fast, but since I didn't know any different I persevered until all of the sudden one afternoon I got it. After several hours of trial and error the wool roving was flowing through my fingers and twisting into the most beautiful wool yarn I had ever seen. Since that day spinning has been almost as relaxing for me as quilting.
I used this new yarn I was able to create to make a scarf for Mr. Splinters. I wear it more than he does though. I also tried plying the yarn into a two-ply yarn that I gave as a gift to a friend. In return she knitted my wool yarn into a scarf which she gave as a gift to me. I will treasure it forever.
Because I was enjoying the process so much, I decided to try to spin enough wool to make the front of my study quilt. It was already July of 2009 and the quilt had to be finished to be included in an exhibit at AQSG's annual seminar in mid-October 2010. Time was running out fast!
Once I thought I had enough single-ply wool yarn to create enough fabric to make the star in my quilt, it was time to tackle the dye process. This step wasn't totally unfamiliar to me as I had played with various dye processes before. For my quilt I needed two colors - a very dark (almost black) blue and a golden nutmeg color. It was exciting to watch the fibers I had so patiently spun change into the colors I wanted them to be!
I kept spinning and dying until I had what I though would be enough single ply yarn to weave into fabric. Whether or not it could be used for my quilt I was not yet sure. I had purchased wool fabric on hand just in case.
I kept spinning and dying until I had what I though would be enough single ply yarn to weave into fabric. Whether or not it could be used for my quilt I was not yet sure. I had purchased wool fabric on hand just in case.
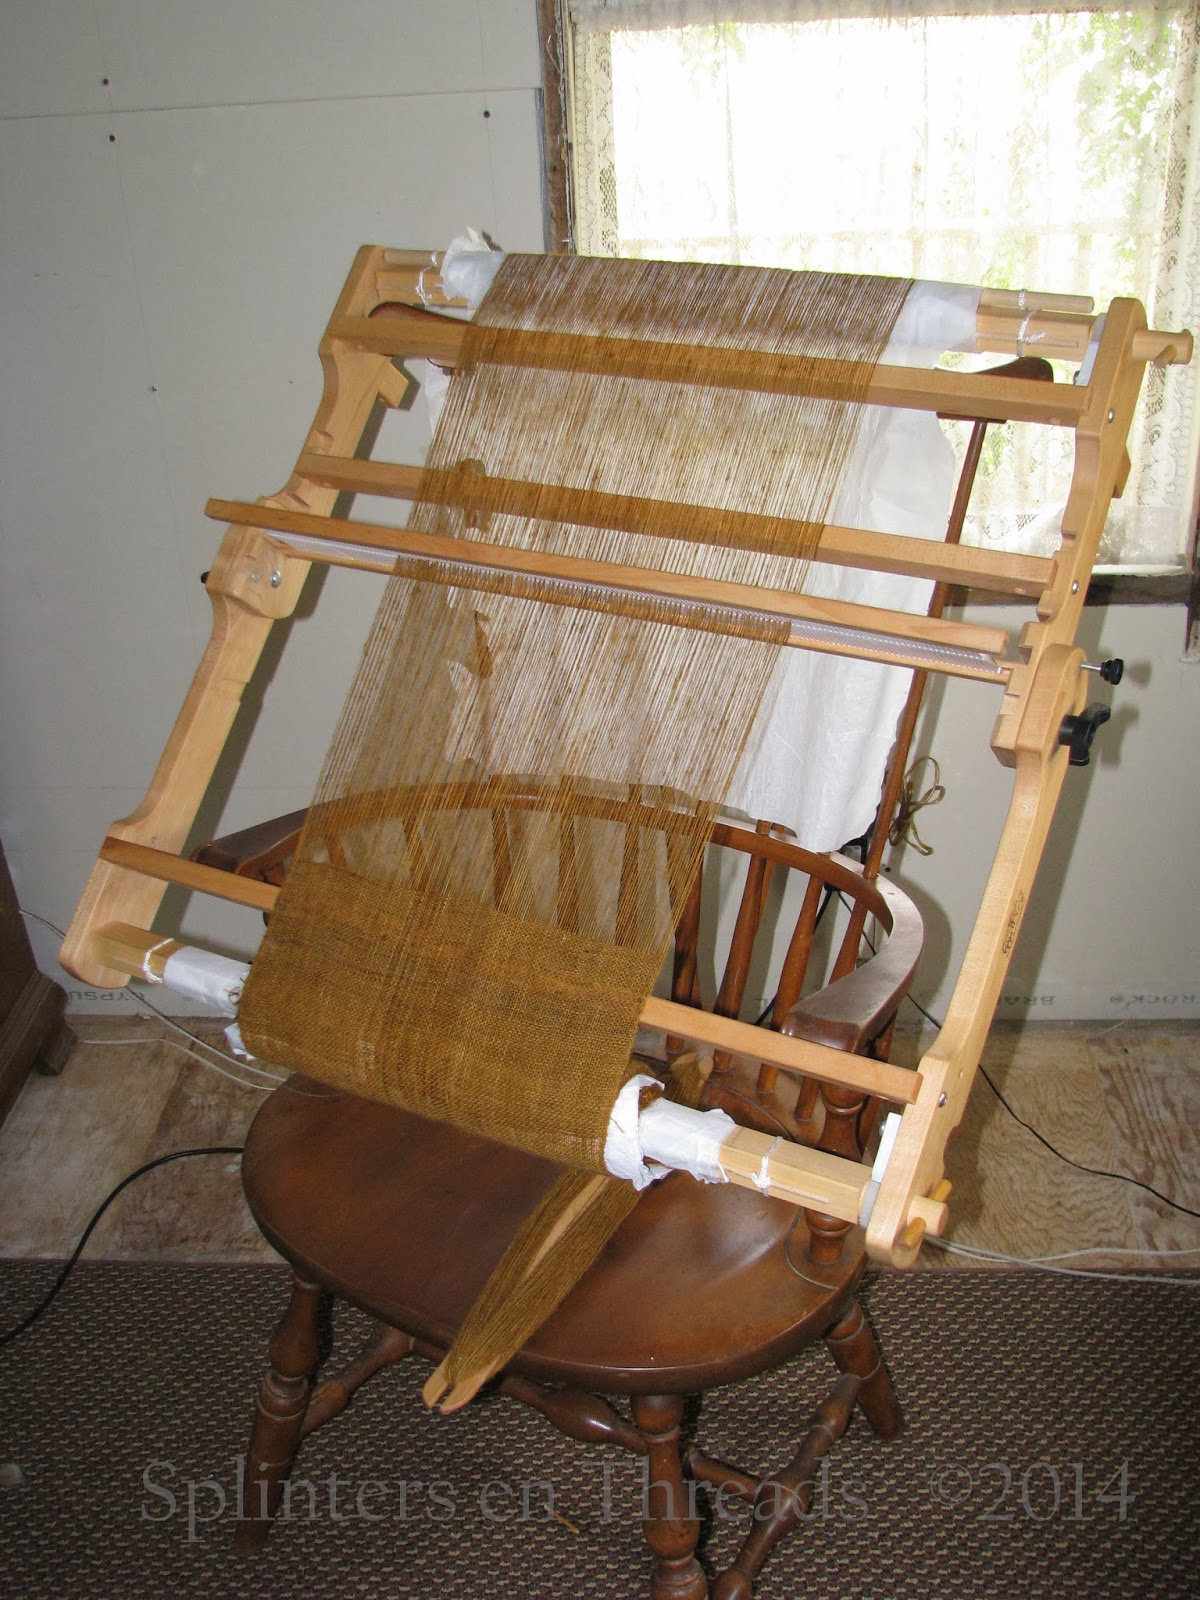
I started weaving the first wool in January 2010.
 |
| Weaving the very dark blue on a rigid heddle loom |
Our house is small which does not leave much room for things like floor looms. Instead I purchased a rigid heddle loom. If I were doing it this way again I might double the density of the weft, but for my quilt study project this worked fine. Yes, my loom was new, however, rigid heddle looms have been around for centuries so it is possible a home spinner in the early 19th century could have used one.
 |
| Spinning the chestnut on the rigid heddle loom |
With barely enough fabric for the top competed, I was faced with the choice of what fabric to use on the back. Somehow it didn't seem right to use the linen fabric I had already purchased.
Instead, I spun more wool and tried my hand at spinning linen to create a blend of fibers that would have been available in the early 19th century. I used a linen warp and a wool weft in their natural tones to create a genuine linsey-woolsey.
Of all of the fabrics I have created to date this one remains my favorite.
 |
| Weaving the linen/wool backing fabric |
Once the fabrics were removed from the loom they were washed and felted which allowed the fibers to shrink up densely enough to create my quilt.

In true make-do fashion, I pieced the top making the most of the wool fabrics I had created. There was not enough of this precious commodity to concern myself with which way the warp was running in each piece, hence the directional variations in the background.
I was please with how the quilt was turning out but I was running out of time. The photo below was taken on September 13, 2010!

The basket in the photo with my spinning wheel contains wool I had planned to comb and lay out as batting. I experimented with the process but in the interest of making the quilt study deadline I ended up layering the top and backing with purchased wool batting and basted them to prepare for machine quilting. Yes, after all that hand work I machine quilted the quilt.
Perhaps I should explain as I did when the quilt was on exhibit. I love to quilt by hand or machine but at no time did I plan to finish this quilt with hand quilting. The density of quilting I could get by machine, especially given the time I had to create the project, made it necessary to do the quilting by machine. Not to mention the stability dense machine quilting added to my woven fibers. The intended purpose of this quilt was to be exhibited which meant it would be hanging from a rod pocket attached to the back.
Furthermore, I think if quilt makers in the early 19th century had machines available to them they would have used them!
Remember, the quilt study encourages us to explore some aspect of the original quilt - it does not require we adhere to how the original quilt was made.

With the quilting complete I washed the quilt, blocked it and left it to dry. The label and sleeve were added and my project was finally complete.
I had so much fun making this quilt I have used more homespun and ready-made wool fabrics to make other quilts, including one I am working on now.
Since 2011, when I have some time, I have been spinning more wool that I plan to use to make a bed-size wholecloth quilt. To better accommodate the making of my linsey-woolsy bed quilt, have plans to create a 'treadle room' in the upstairs of our barn. It will be a cozy place for me to use, display and store my collection of 19th century treadles including my spinning wheel, several treadle sewing machines and a floor loom for weaving more wonderful fabrics. And maybe even an overshot coverlet or two!
Creating my 2010 study quilt inspired me to think outside the box a bit more when I plan various quilt projects. Most any fabric is fair game to make a quilt if it fits the project. Even if I have to make it myself!
And, now that Mr. Splinters has returned to work - he just worked his first full week last week - I hope to have more time to work on various projects to share here.
Thanks to all who have expressed your well wishes for his recovery. He is doing well and realizing that recovering from major surgery takes time.
Until next time, happy quilting!
Greta
No comments:
Post a Comment