In years past as a quilt teacher, I have shared the following method I often use to to design the quilting plan for my quilts. I use this technique when I want to visualize the designs on the actual top - without drawing them on the fabric. It occurred to me when someone asked me about it recently, that a few quilters in Blogland might be interested also.
My design ideas usually originate in the process of creating the quilt top. To visually confirm what I have pictured in my mind, I start with clear plastic material that is typically used to cover table cloths, furniture, etc. I believe most fabric and/or upholstery stores carry some form of the stuff. I purchase mine locally at a country store that sells a little of everything including fabric goods.
 |
| Plastic sheeting comes in a variety of thicknesses. |
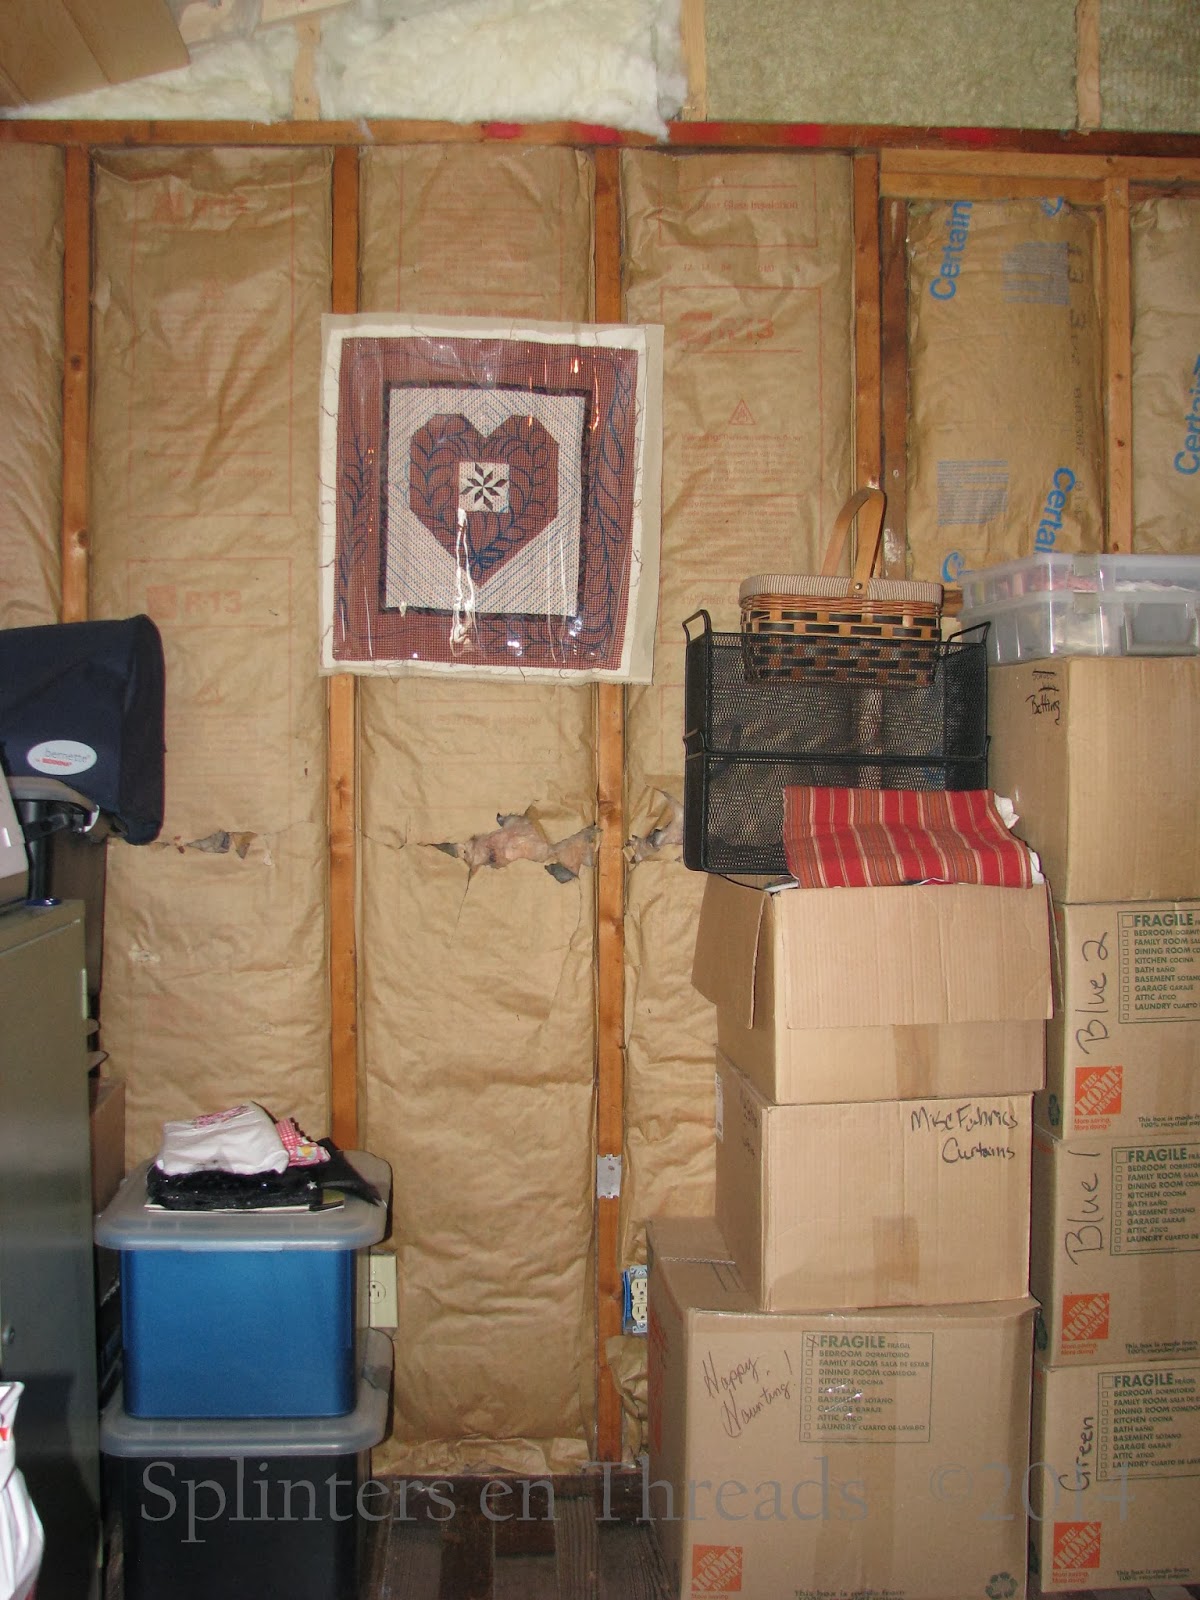
My sample is a small quilt top I made about 15+ years ago as the result of a guild challenge. This little quilt has been one of my PIPs (Projects in Progress) ever since. Because it's February, I thought it would be fun to finally finish it.
Cover the quilt with the plastic.
When designing the quilt plan for a small quilt
cut the piece slightly larger than the top.
 |
| My plan is to turn this little top into a pillow cover. |
Secure the plastic to the top with safety pins.
 |
| The bent basting safety pins work best. |
For a small project like this one, pinning at the corners is usually enough.
For a larger project I might also pin along the
inner border or at strategic points throughout the quilt.
OR
When working on a large quilt it,
sometimes it is easier to design the quilting in sections.
With the quilt hung on a design wall or laid out flat
each section can be covered with plastic to focus on independently.
The PIP and the quilter will be able to determine the best method.
 |
| This heart needs feathers! |
Use a marker that can be easily wiped off the plastic
during the design process and start drawing.
Just watch your sleeves!
I draw most of my designs freehand, but a template can be used
to trace a design onto the plastic over the quilt.

At this stage I am simply playing with what I think will fit the quilt.
 |
| Sometimes my hand does not draw what my mind tells it to! |
If I draw something I don't like . . . I can wipe it off.
I keep doodling and drawing until I am happy with the general plan.
At this stage I don't draw every line or feather.
This is simply a visual plan.
However, if desired, the designs can be drawn in complete detail
and then cut to serve as a template to mark the designs
directly onto the quilt top.
Please be sure to remove the quilt top before cutting the plastic!
(I had a student learn that lesson the hard way.)

For this project the feathered heart on the pieced heart was a given.
I like the way the gracefulness of the feathers
contrasts with the simple piecing.
I wanted the background to compliment the simplicity of the little top.
I chose diagonal lines that surround the heart
instead of a grid or stippling which were my other ideas.
I like the way the lines surround the heart
to keep it the focal point.
The outer border needed more feathers to bring consistency to the quilt.
I first thought I might do a simple feather border
that traveled in one direction around the top.
Instead, I decided to have the feathers meet at the top and the bottom
like they do in the heart;
BUT
they will 'fly' in the opposite direction.
With the quilt hung on my design wall I am able
to step back to make sure I'm happy with the quilting plan.
After I remove the plastic from the quilt I often hang it on my
design wall or the window that I quilt in front of
as a guide while I quilt.
Please come back in a day or two to see the finished project fully quilted.
Gelukkig quilten!
Greta
 |
| A dry cloth will remove most markers at this stage. |
At this stage I don't draw every line or feather.
This is simply a visual plan.
However, if desired, the designs can be drawn in complete detail
and then cut to serve as a template to mark the designs
directly onto the quilt top.
Please be sure to remove the quilt top before cutting the plastic!
(I had a student learn that lesson the hard way.)
For this project the feathered heart on the pieced heart was a given.
I like the way the gracefulness of the feathers
contrasts with the simple piecing.
I wanted the background to compliment the simplicity of the little top.
I chose diagonal lines that surround the heart
instead of a grid or stippling which were my other ideas.
I like the way the lines surround the heart
to keep it the focal point.
The outer border needed more feathers to bring consistency to the quilt.
I first thought I might do a simple feather border
that traveled in one direction around the top.
Instead, I decided to have the feathers meet at the top and the bottom
like they do in the heart;
BUT
they will 'fly' in the opposite direction.
 |
| My design will is still under construction! |
to step back to make sure I'm happy with the quilting plan.
 |
| The design plan is used as a reference. |
After I remove the plastic from the quilt I often hang it on my
design wall or the window that I quilt in front of
as a guide while I quilt.
 |
| My favorite seat in the house! |
Please come back in a day or two to see the finished project fully quilted.
Gelukkig quilten!
Greta