 |
| Taylor Marie |
Today, because Taylor's mom (my oldest daughter) keeps telling me how much people love Taylor's burp cloths I thought I would share the simple instructions here. That way anyone who wants, or needs, them can have some too!
Here goes:
 I started with some really nice soft flannel fabrics in a variety of prints with bright colors that compliment the colors of Taylor's room. (There are coordinating receiving blankets too!)
Each burp cloth takes two pieces of fabric that start out approximately 12 inches by 20 inches; or 1/3 yard of a single fabric if both sides will be the same.
I purchase fabric in 1/3 or 2/3 lengths and then cut it half at the fold so that I can mix and match.
PRE-WASH!!! Most flannel fabrics shrink a lot. Often as much as 5-10% and it seems no two pieces of flannel shrink at the same rate. To be sure I create and give a quality burp cloth that won't pucker and twist later, I always pre-wash.
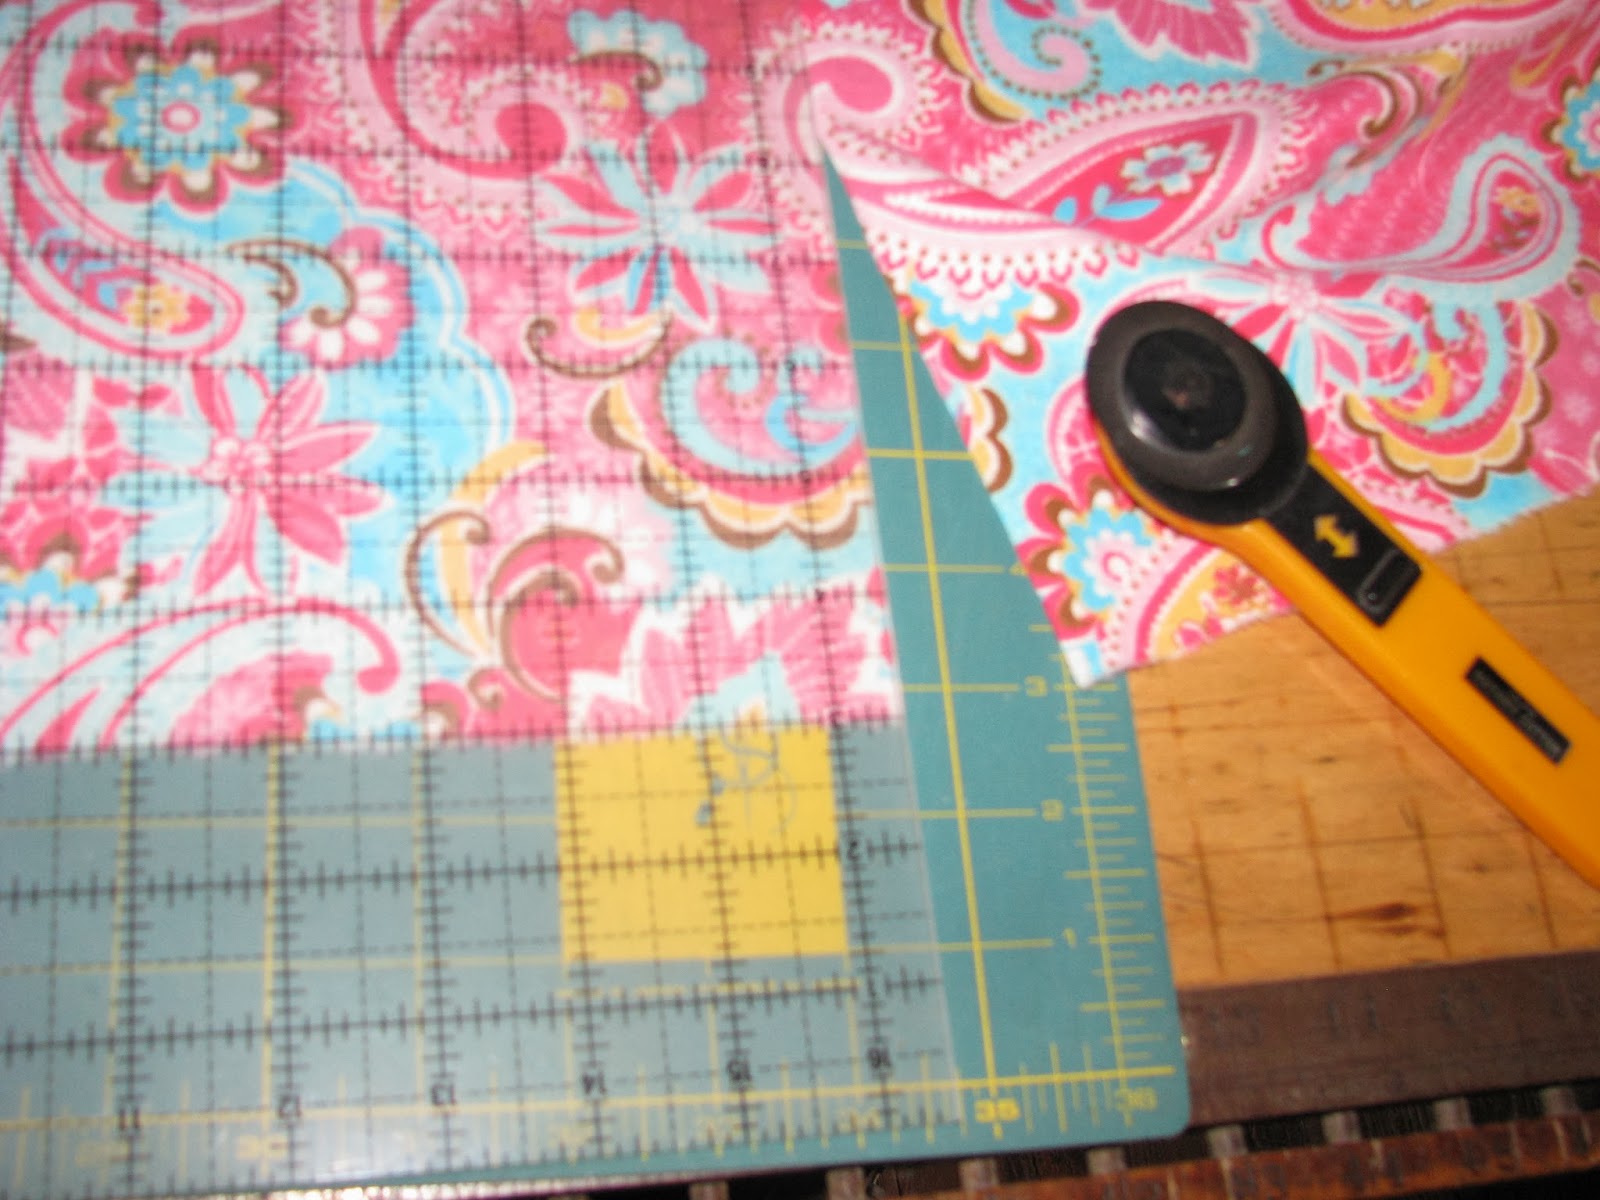
 Once the fabrics are washed I carefully tear one cut edge the full width of the fabric to accurately locate the grain lines.
 I then press each piece making sure the torn edge is pressed straight.
Tip: A light touch of spray starch or sizing could be helpful here but it is not a necessity.
With all of my fabric pieces prepared I start assembly by layering two fabrics with the right sides together. I line them up along the torn edge first and the selvage edge second.
Because of the nap of the fabric, flannel 'sticks' together pretty well but for a little added insurance I press them together.
Tip: If the fabrics seem overly stretchy a lightweight iron-on stabilizer could be pressed onto one of the fabrics; it should not be necessary on both sides because of how flannels stick together.
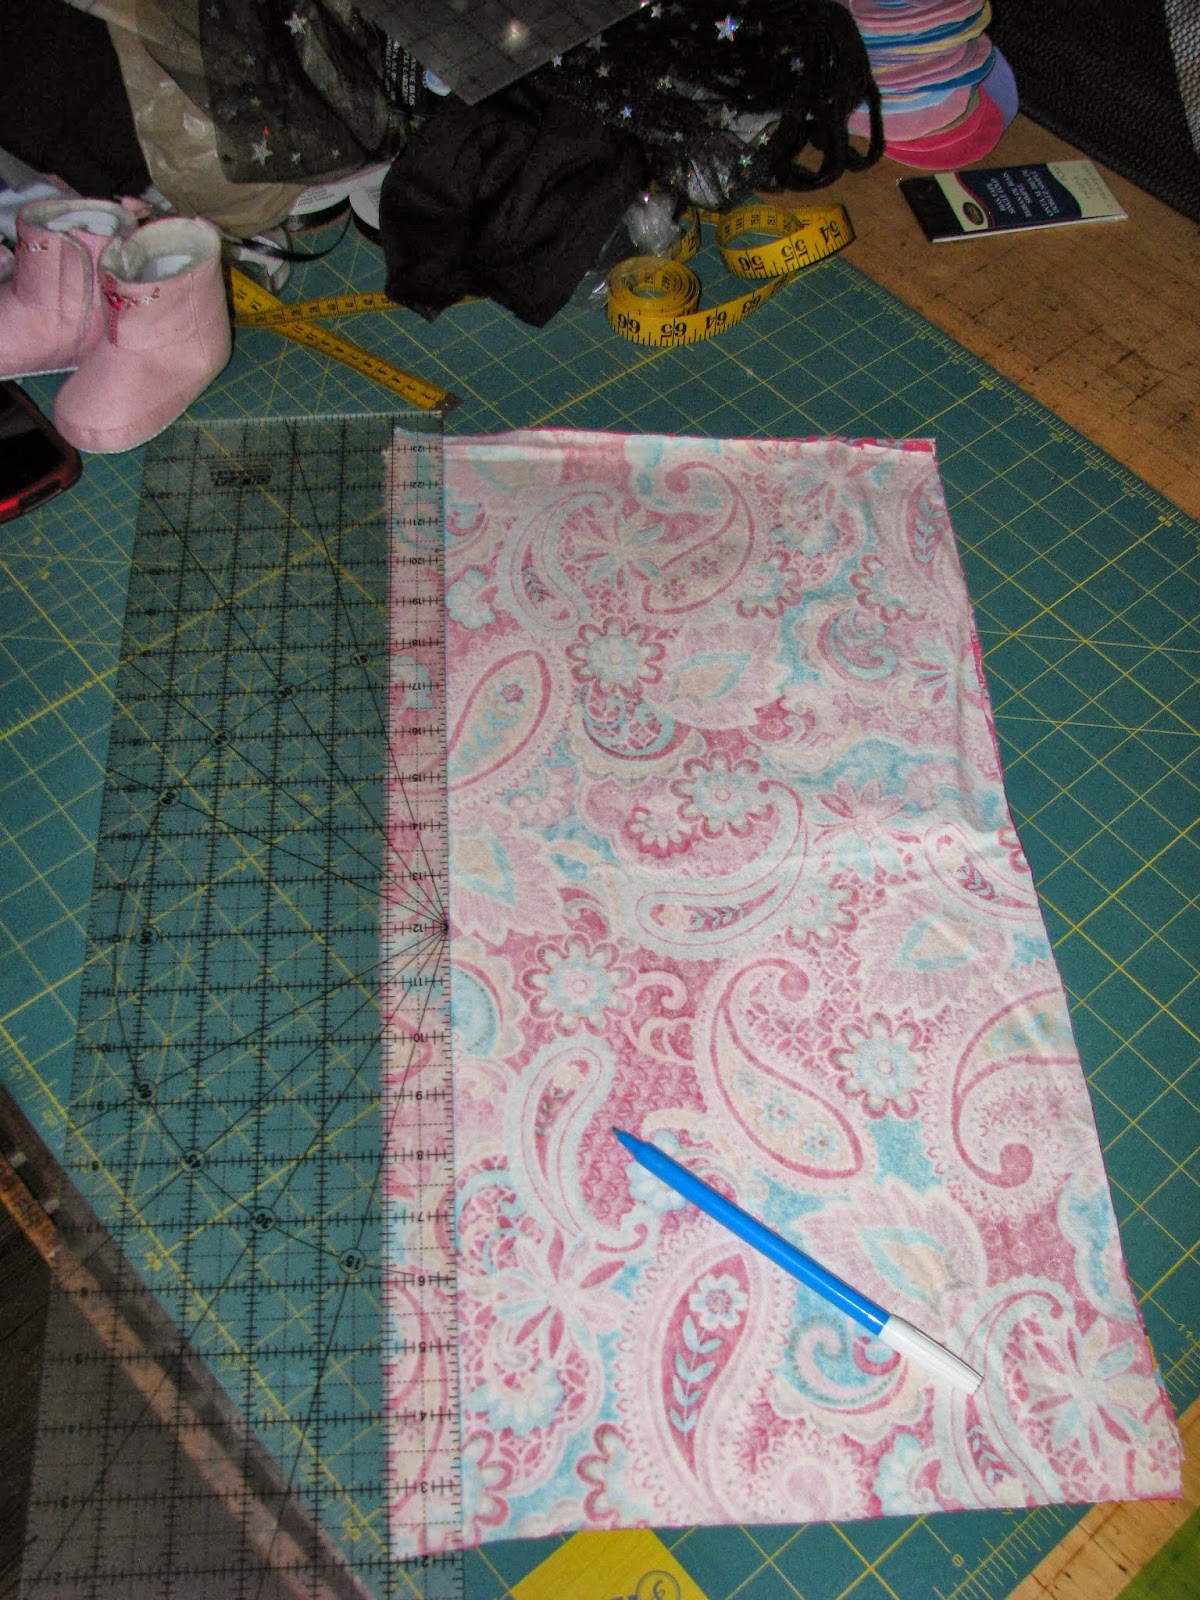
I prepare the piece for sewing by drawing sewing lines right on the fabric.
I start with the first line about 1 inch from the torn edge.
 I then measure the width I want and mark a line parallel to the first whatever width I want the finished cloth to be - usually 8-10 inches.
(This one is 9 inches.)

I then mark a line about 1 inch from the selvage
edges (perpendicular to the first two lines).
The fourth line is drawn about 18" parallel to the third line.
When I have all of my lines drawn I have a rectangle that is 9 inches by 18 inches.


Because I prefer rounded corners on these burp cloths, I use whatever 'tool' I have handy to draw a curve at each corner. A circle template comes in handy but lots of things will work. When I couldn't find my circle template I used part of a hoop from my embroidery machine. Whatever works!
A quick note: I use a blue wash-away marker to draw the sewing lines. It is possible that pressing the cloths will set the blue line but since it is on the back side of the fabric and will be buried inside the seam I don't worry about it. These are burp cloths not heirlooms! Just think what types of icky stuff they will get on them when they are in use. :-)

Next, I sew just inside the drawn line almost all the way around leaving a 2-3 inch opening at one end so the cloth can be turned to the right-side.

Helpful hint: If you find the top fabric is being pushed by your presser foot creating puckers, try reducing the pressure adjustment just a little (if your machine has that capability). An alternative would be to use a walking foot to help evenly feed the layered fabrics. Just don't stretch and pull them or you could end up with ruffled edges that will not lay flat.
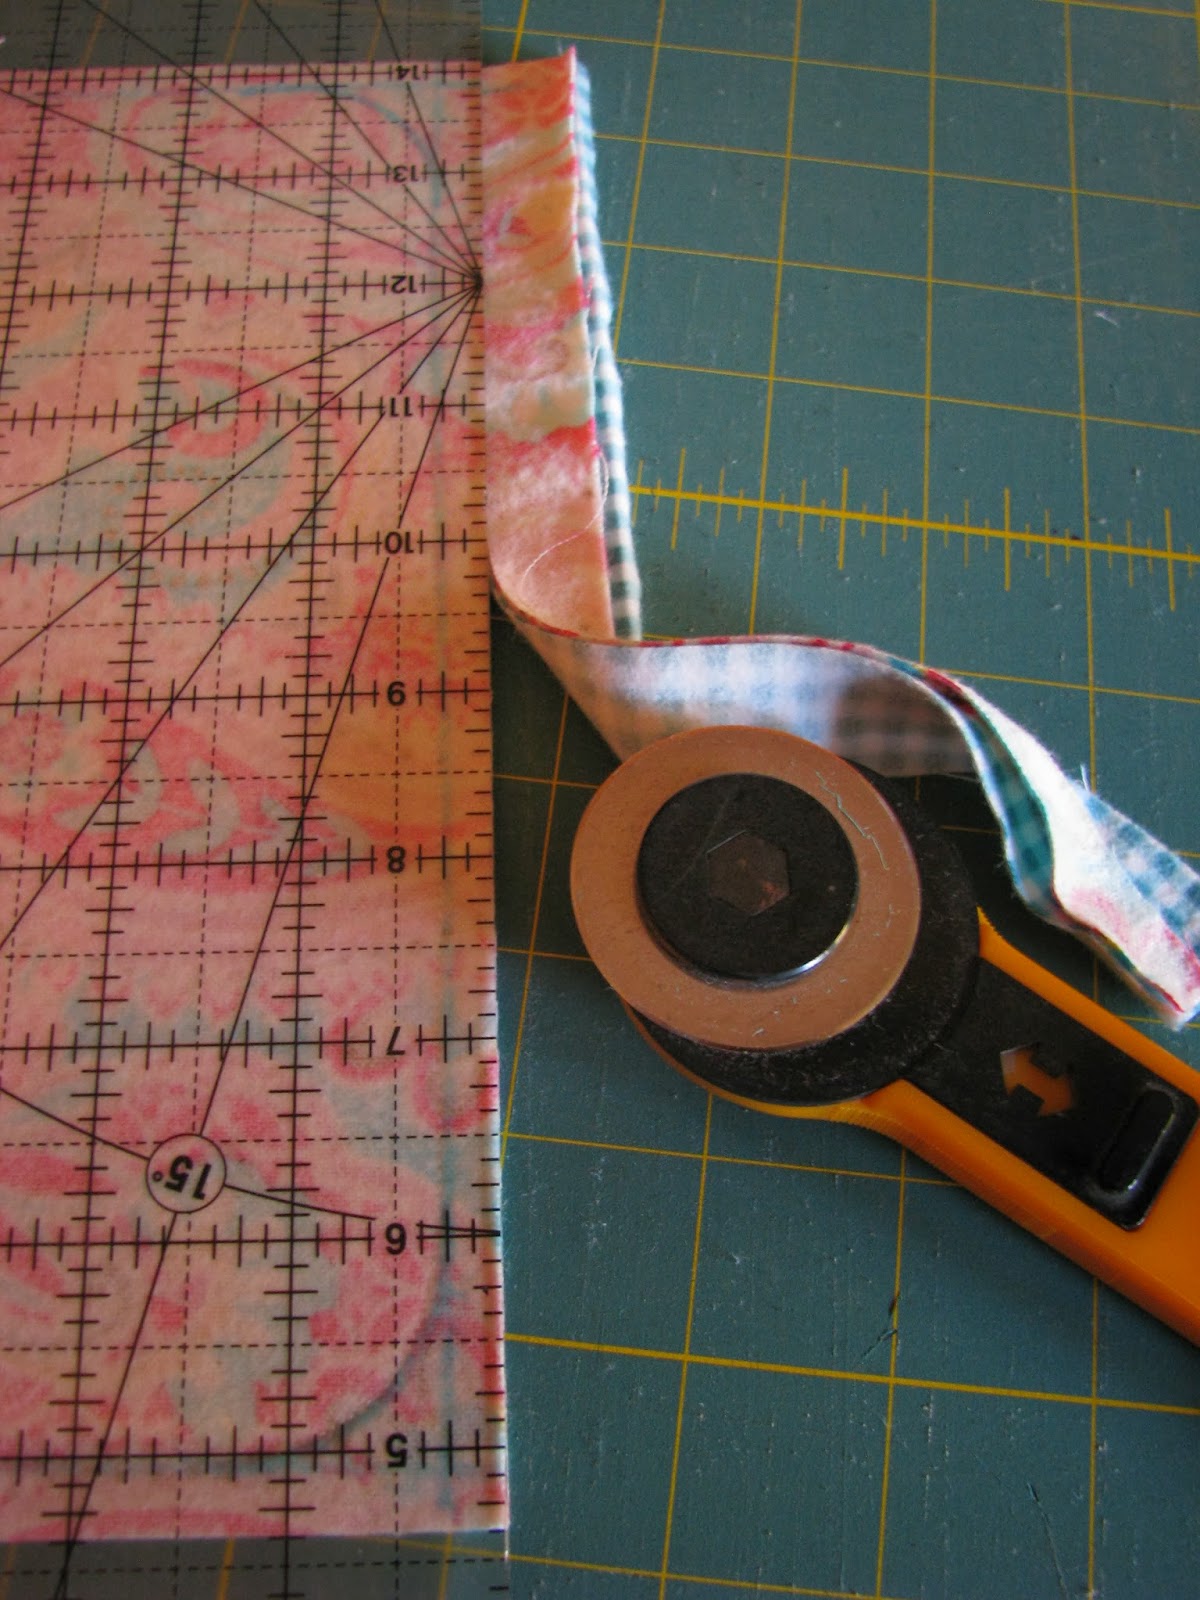
Carefully trim the excess fabric about 1/4 inch around the outside of the sewn line. Trimming a little extra away around the corners will help them ease into shape.
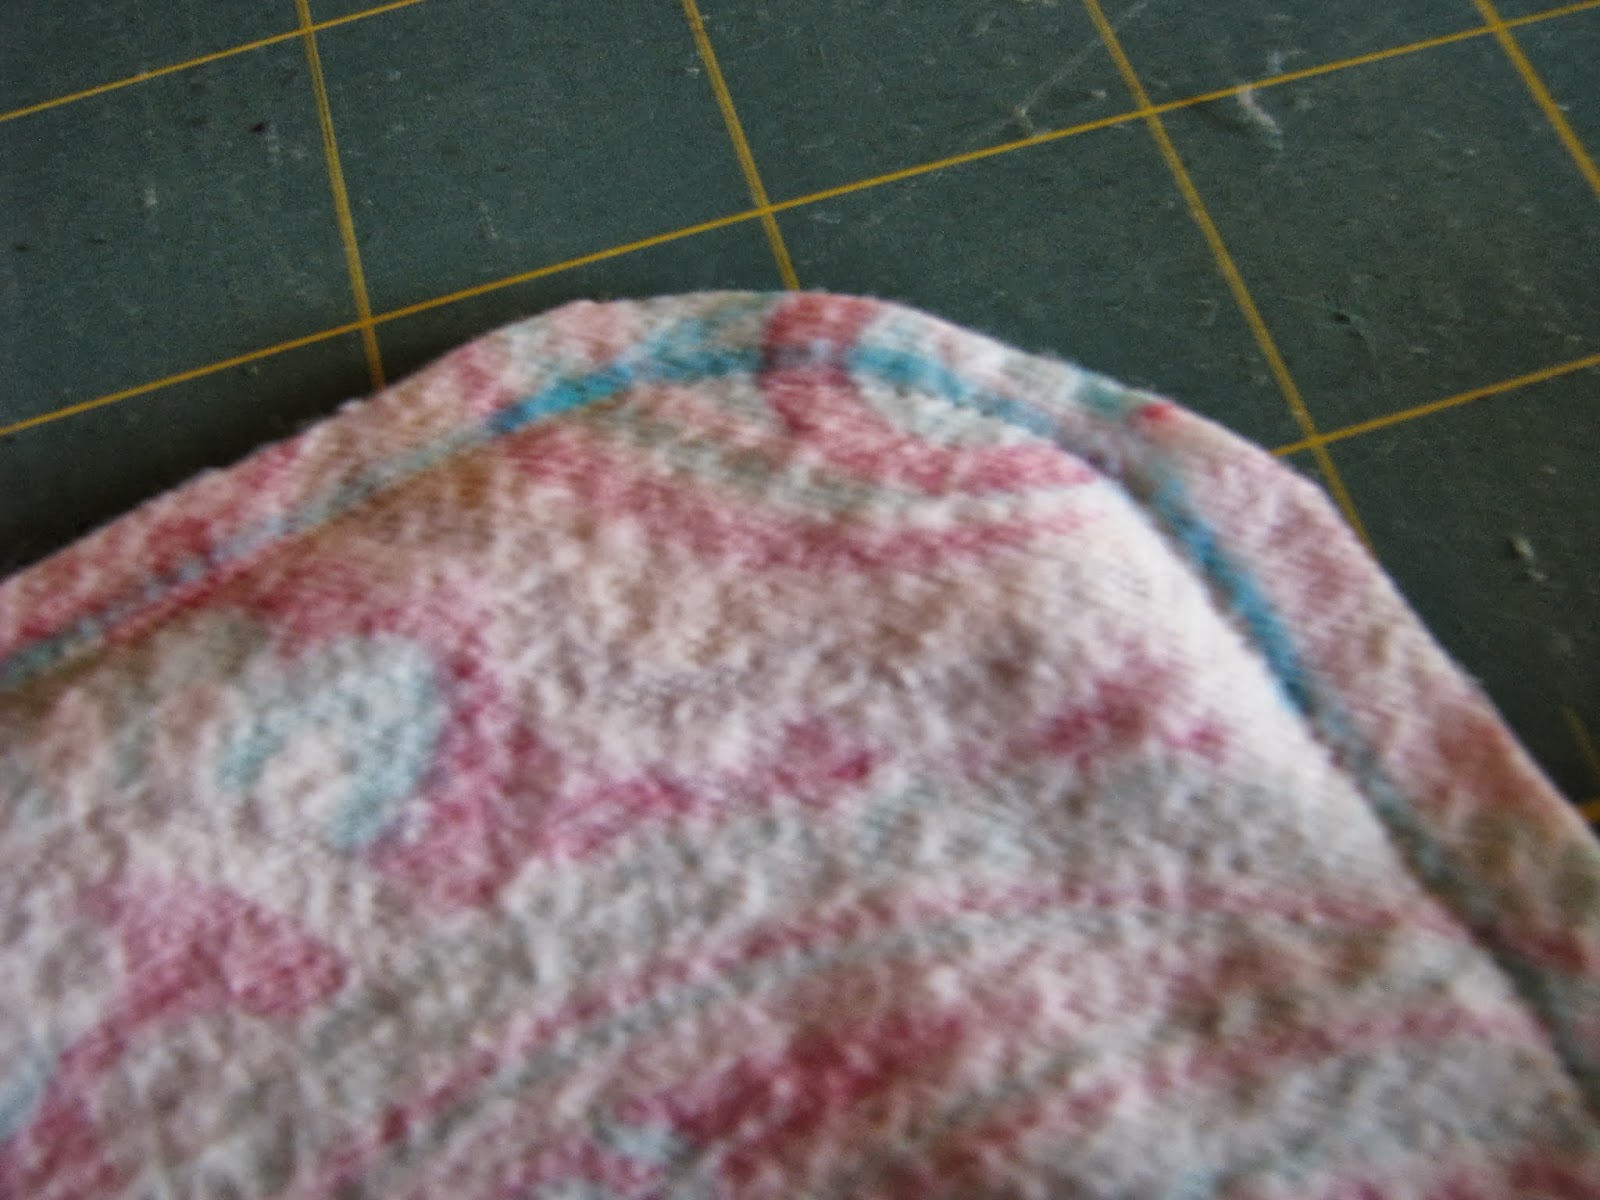


Turn the cloth right sides out. It helps to use a turning tool. I do this step at my pressing mat so that I can set the edges with the iron as I go. The tool I use is a handy letter opener that belonged to my father. It has a nice blunt pointed edge that slips into the seams just right.

Stitch the open area closed either by hand or machine.

I then top stitch about 1/4 to 1/2 inch from the outer edge to set the shape.
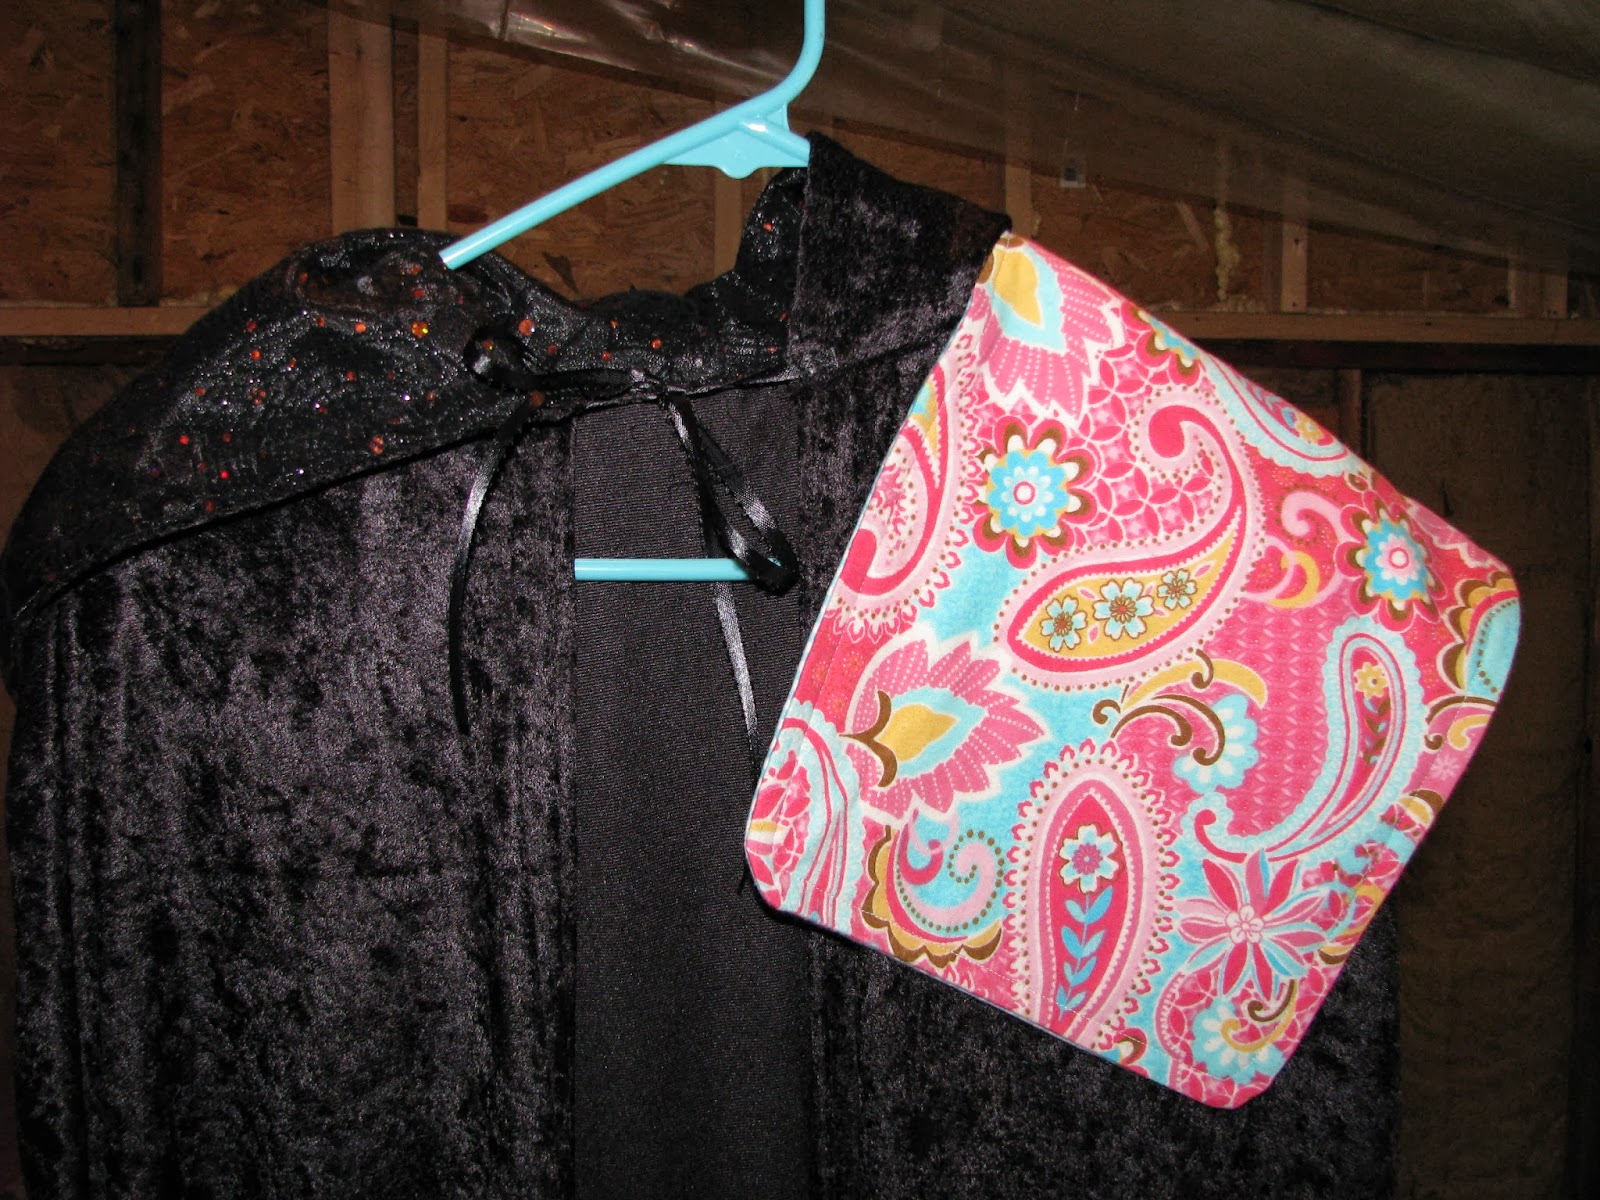 | |
| The burp cloth is draped over my granddaughter's Halloween cape. |
Voila! .
 |
| Abbie, a.k.a. my faithful companion in the studio... |
No comments:
Post a Comment