A few years ago, late 2010 I think it was, I received an email from a quilt history friend, Sue Wildemuth, asking if I might be interested in making a quilt that would become part of a collection of quilts she was putting together. You see, Sue collects Eagle quilts. She came up with an idea to have a number of quilt historians and artists design a quilt that would represent a chosen decade beginning with the 1770s through 2010. Not only do I love Eagle quilts, I love a challenge and this one sounded like fun.
 |
| 'Washington's Eagle' |
You can read more about my quilt and others from Sue's collection in her book recently published by Schiffer Publishing.

When my quilt was finished, Mr. Splinters decided he liked it enough that he wanted either the one I made for Sue or another one. I liked it too and I had enough hand dyed wool to make a second quilt, but I was out of the silk that was a gift from a friend. I did have some linen though and thought that might be an interested combination to work with. The layers were basted shortly after the original was shipped out, but as too often happens quilts I do for fun get pushed into the PIP (Project In Progress) box in favor of meeting other deadlines. Now that I am reclaiming my quilt life, following all the drama of recent months, I pulled my basted eagle quilt out of the box and started quilting.

I had to reacquaint myself with the basic design I came up with for the original quilt. It was drawn on freezer paper overlapped and pressed together to have a large enough sheet for the finished size of the quilt.

From my sketch I traced the eagle onto template plastic so that I could transfer it with reasonable accuracy.
The white stitching that shows in the working photos is wash-away thread used to stabilize the quilt and mark the areas to be filled with quilting.

I cut the template apart to make it easier to draw the basic shapes that make up the eagle and his shield. The breast plate is marked to indicate the center of the eagle design, which in this quilt will match the center of the quilt.

The outlines of the remaining shapes were traced onto the quilt.

Finally the quilting started.
I outlined the basic shapes and then went back to fill in the details.

You can see some of the details being filled in.
I love to draw with my needle and thread.
Occasionally, when things need to line up like the designs in the upper part of the wings, I use a chalk pencil to draw some guidelines. Because they are also drawn by me they are seldom perfect, but to me that is the charm of free-motion quilting.
Perfection is nice but the characteristics that make it clear it is my work is better.
If I wanted perfection every time I would program the design into my embroidery machine.

Once the eagle was complete I got to start on the feathers.
The feathers in this quilt are a bit more contemporary in style than my original eagle quilt.
I wanted the original quilt to represent a the 1790s.

Because the feathers were allowed to overlap the inner box that contains the eagle, I decided to stitch single diagonal lines as a fill between the feathers and the circle that surrounded the eagle.

I decided to fill the background inside the circle with stippling.


I used wool batting but the lines and scale are small enough there just was not enough poof without cording.

For the edges I wanted to echo the feathers all the way out to the edge.
To accomplish this, I used a knife edge finish on all four sides of the quilt before starting the echo quilting.
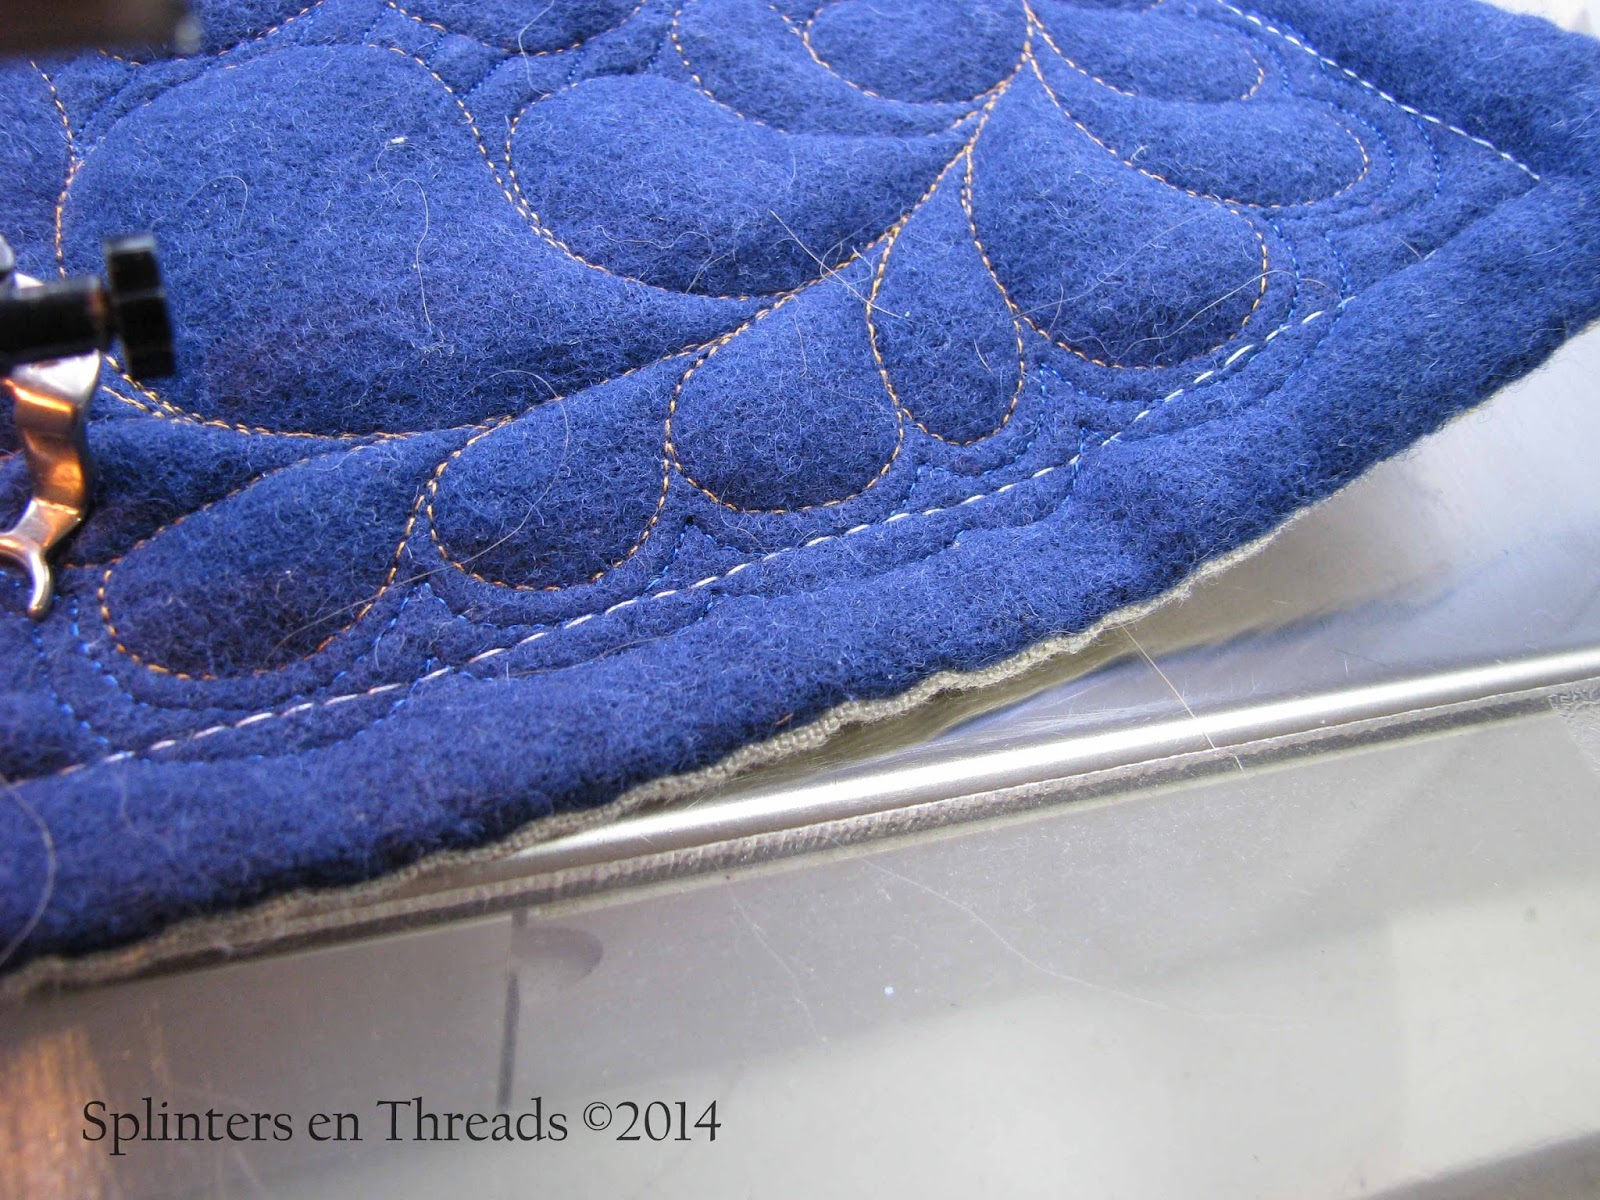 I alternated the placement of the corner folds of the front and back fabrics to distribute the bulk more evenly.
 With the edges finished, the last step was the echo quilting.
The front of the finished quilt.
To accomplish this, I used a knife edge finish on all four sides of the quilt before starting the echo quilting.
The front of the finished quilt.


With the completion of 'Washington's Eagle II' I can check another project off my 'PIP' list.
:-)
Happy quilting,
Greta
If you are interested in watching an real Bald Eagle family check out the
Berry College Eagle Cam
http://www.ustream.tv/channel/16983147
If you are interested in watching an real Bald Eagle family check out the
Berry College Eagle Cam
http://www.ustream.tv/channel/16983147
No comments:
Post a Comment